Well after we pulled them apart and cleaned them up, it was time for a trip to Ikea for the drawers - 48 of them in total (24 sets).
It took us awhile to put them together, but once you did one, the rest were easy.
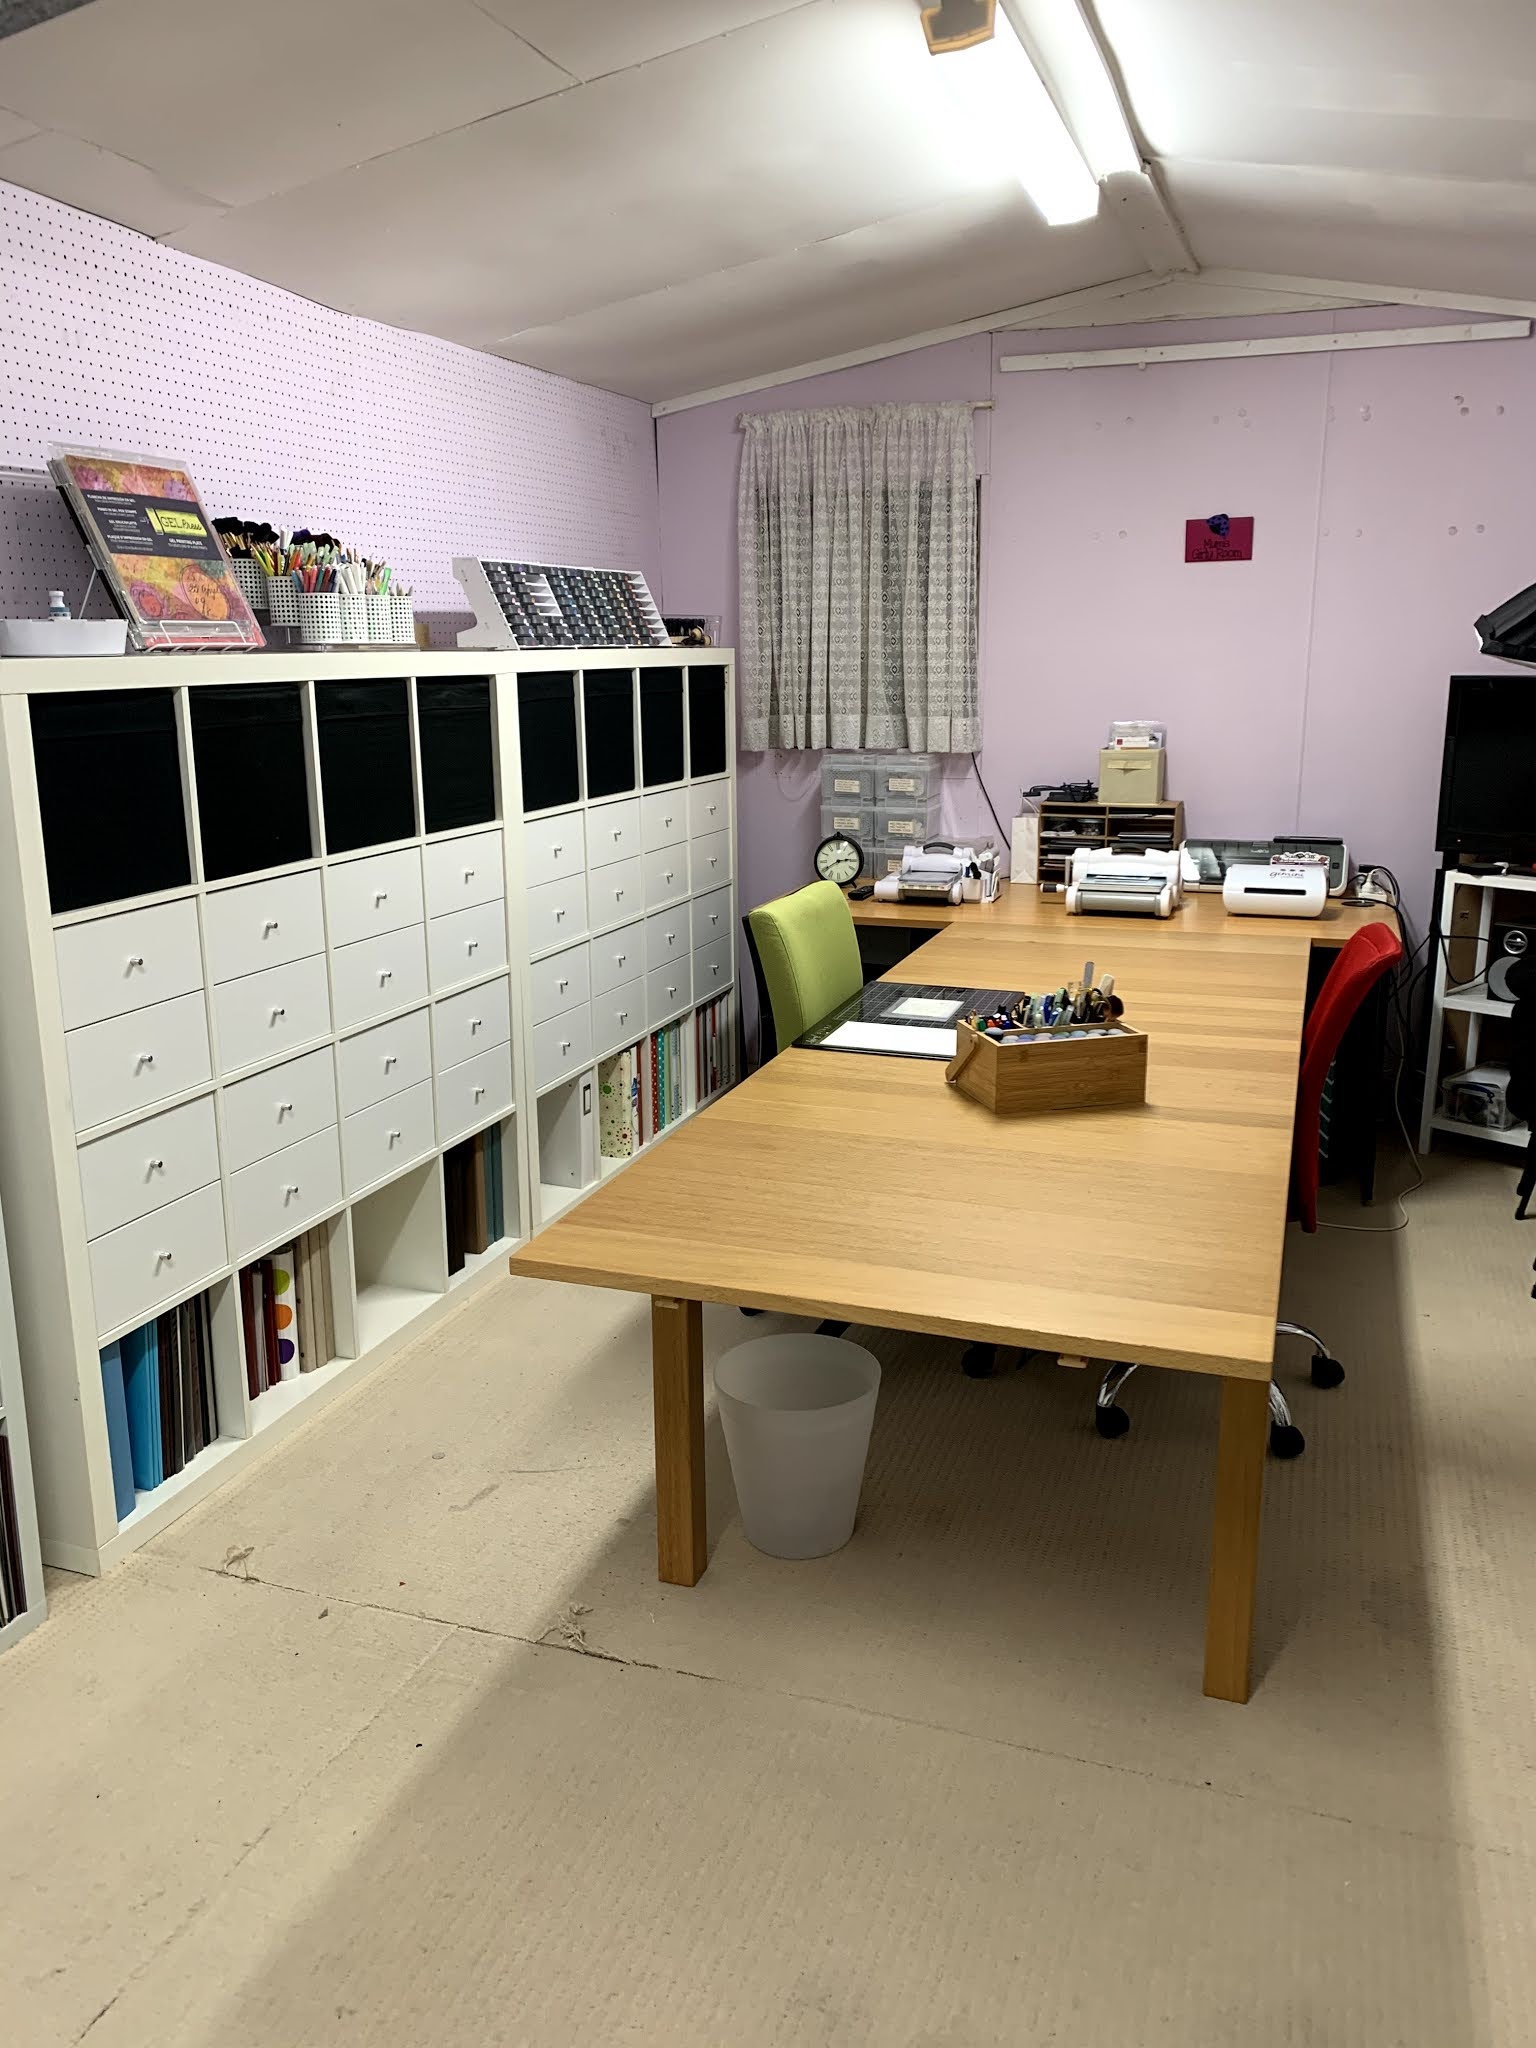
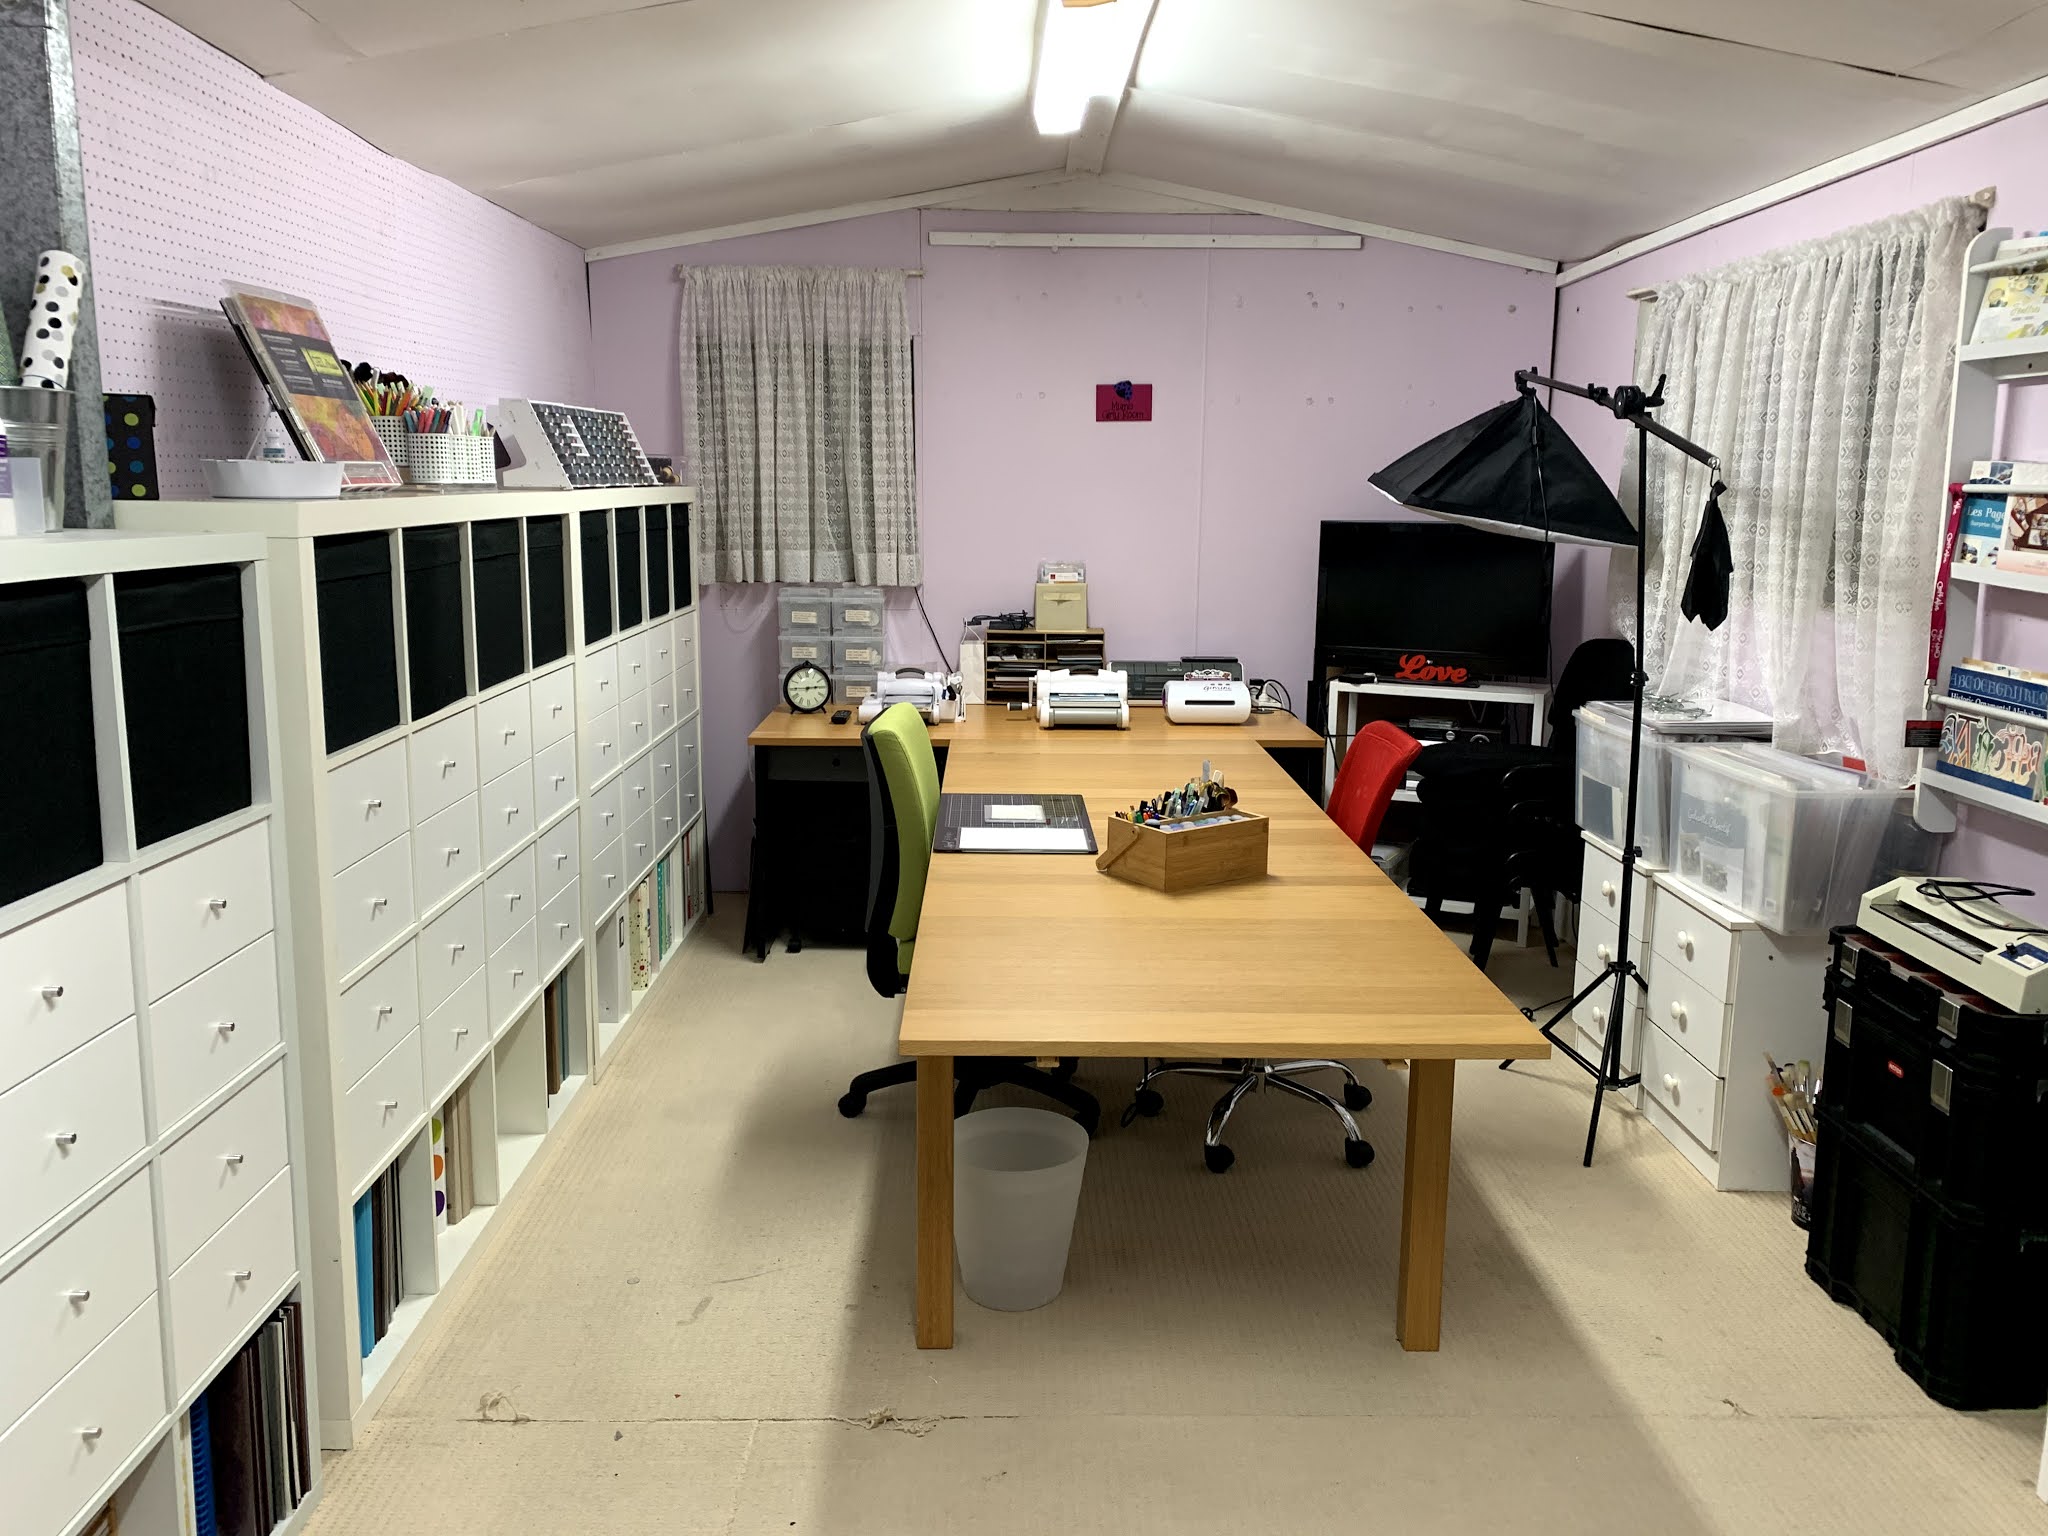
So here is my new Craft Studio:


Well after we pulled them apart and cleaned them up, it was time for a trip to Ikea for the drawers - 48 of them in total (24 sets).
It took us awhile to put them together, but once you did one, the rest were easy.
So here is my new Craft Studio:
Stencilling is a fun and inexpensive way to create, they can range from $10.00 upwards but the best thing about them is there is a multitude of techniques that can be used with a stencil and you can use this stencil, over and over again.
Just a little insight into the versatility of a stencil:
This video gives you an insight to my Class Workbooks - these are usually used in my classes and retreats, but can be purchased and used by you, at your pace.
There is pages within the book to adhere your samples and you can use this book as a resource ..... forgot a technique? Just look it up in your book.
If you dont have the same products (eg. the different types of inks I use), just use what you have.
Each Class Workbook is $20.00 plus postage and includes any help I can give you.
Please email me if you would like further information or if you would like to purchase one of my books or alternatively, you can go on my website to place your order.
I hope you enjoy the peek into stencilling.
Colour coding your inks and tools will make your life easier and quicker. Having said that, this really depends on your budget.
As I do classes, this is an essential part of my business ensuring clients can have easy access to the ink and matching tools.
What you will need:

1. Cut off 3 dots from package
2. Using your dauber, colour the three dots
3. Write the same reference number on the three dots Eg. B1
4. Attach one dot to your ink pad, one dot to your blending tool and the last to the lid of your dauber container.


This will save you time and money as you won't be looking for the matching blender foam or dauber and you won't have doubles either. The added advantage for the blender tool is, that you won't stretch or damage the foam pulling it off and putting it on all the time.
My very favourite brushes for inking and stencilling are the contour make up brush. There are two types I use: These ones are the norm...


