Well after we pulled them apart and cleaned them up, it was time for a trip to Ikea for the drawers - 48 of them in total (24 sets).
It took us awhile to put them together, but once you did one, the rest were easy.
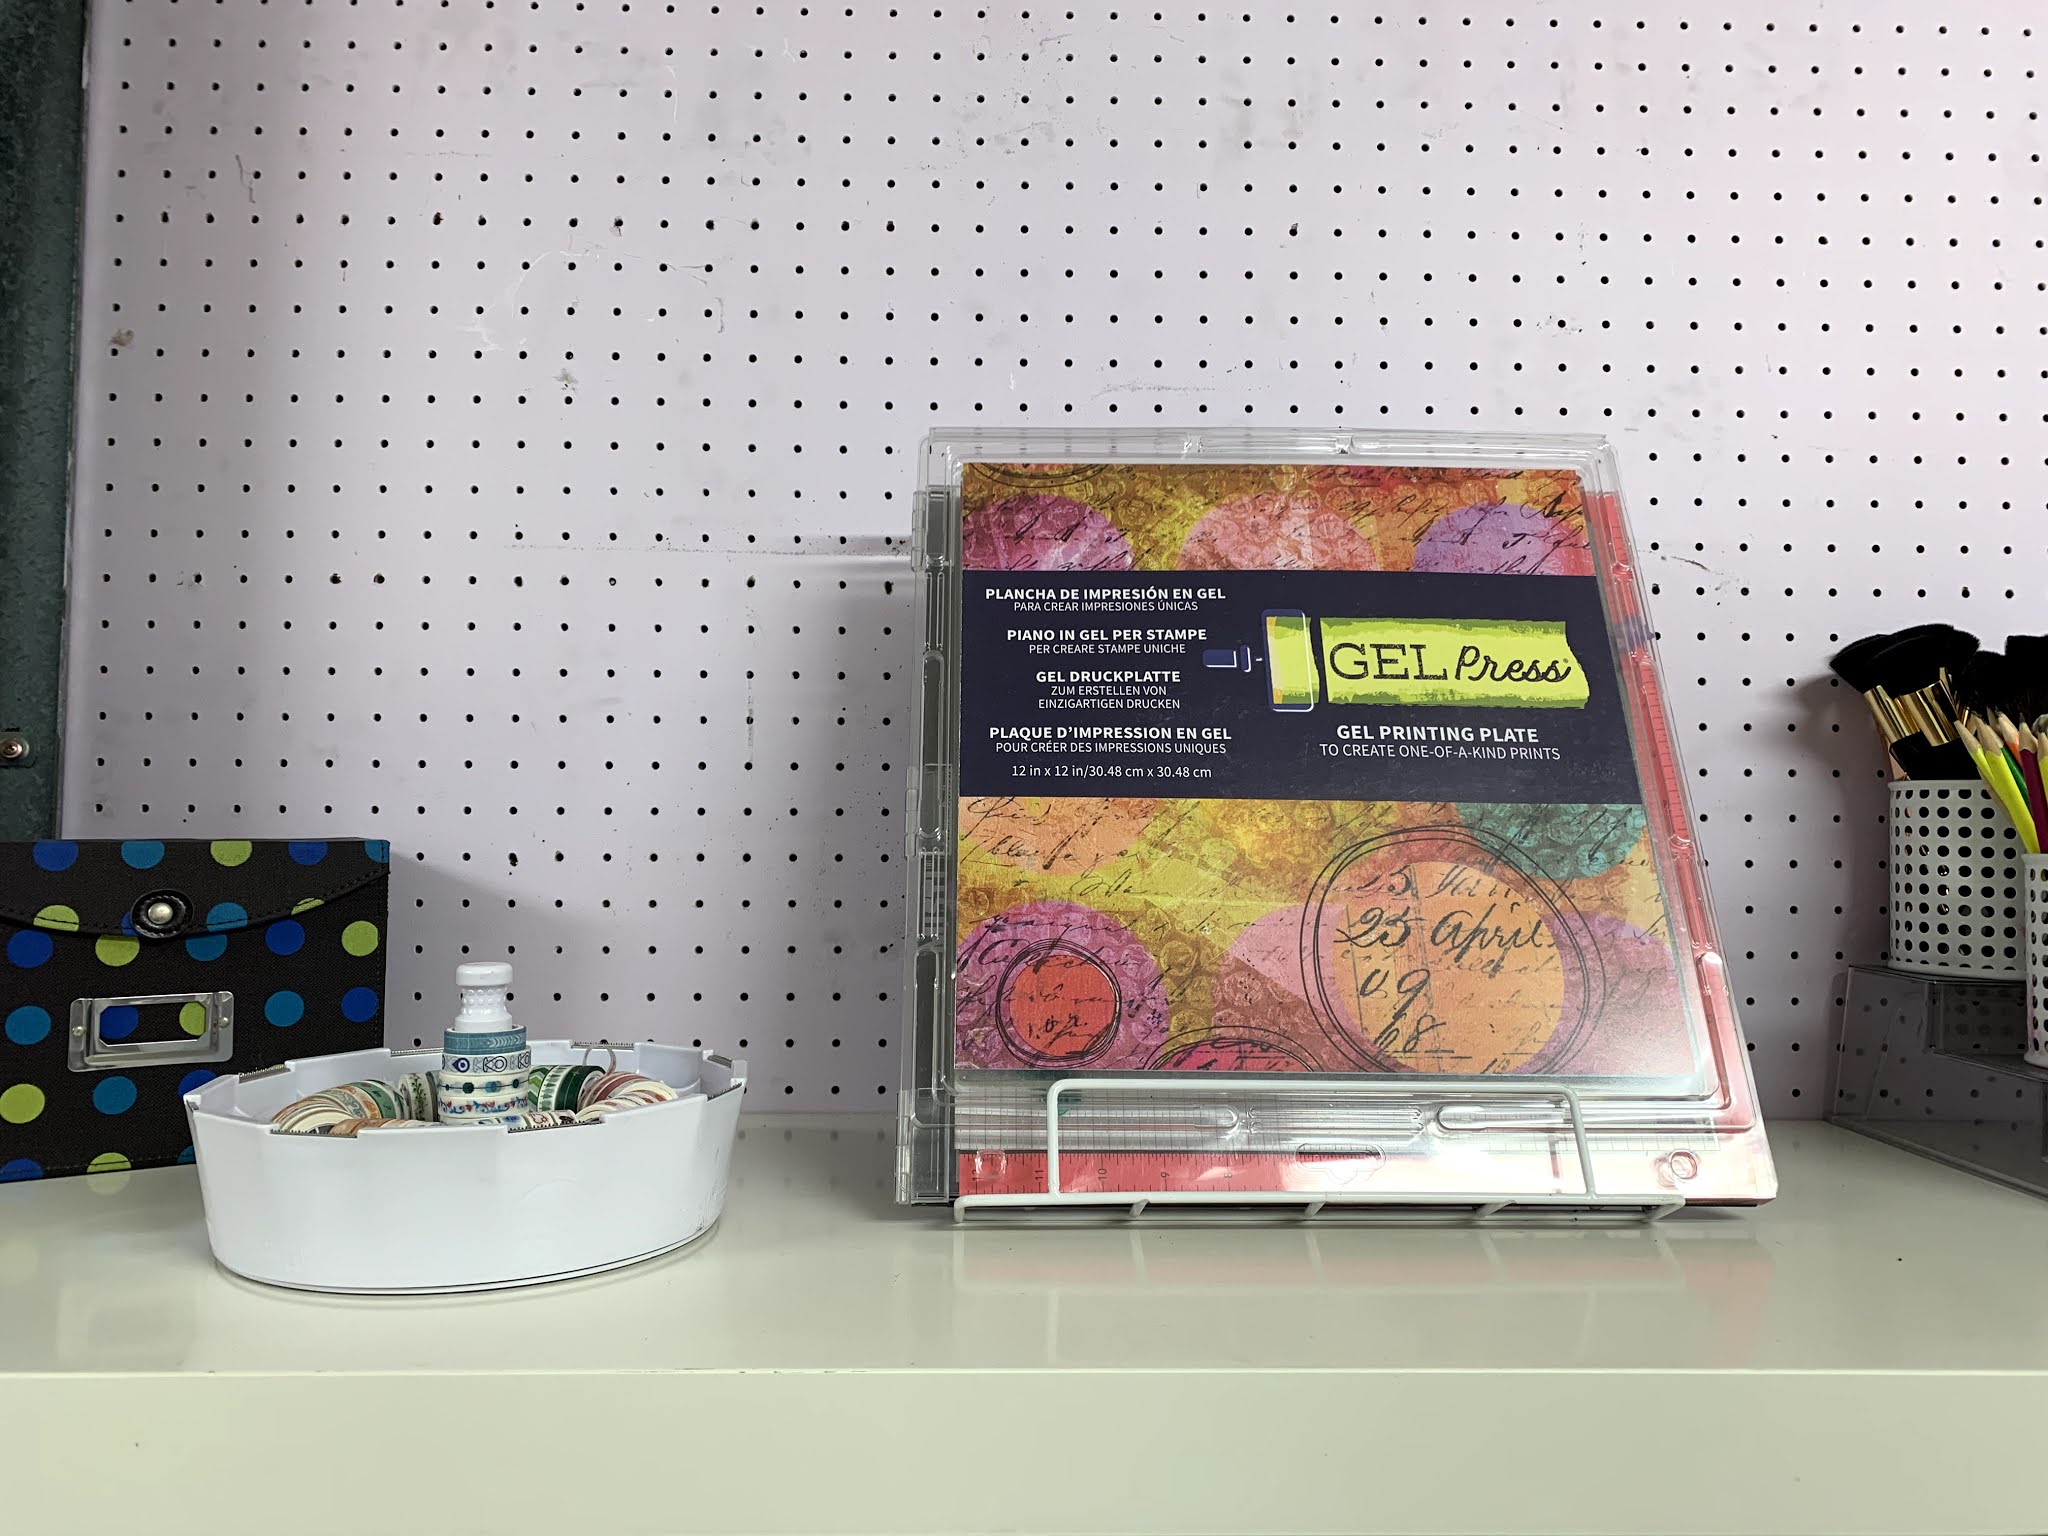
So here is my new Craft Studio:
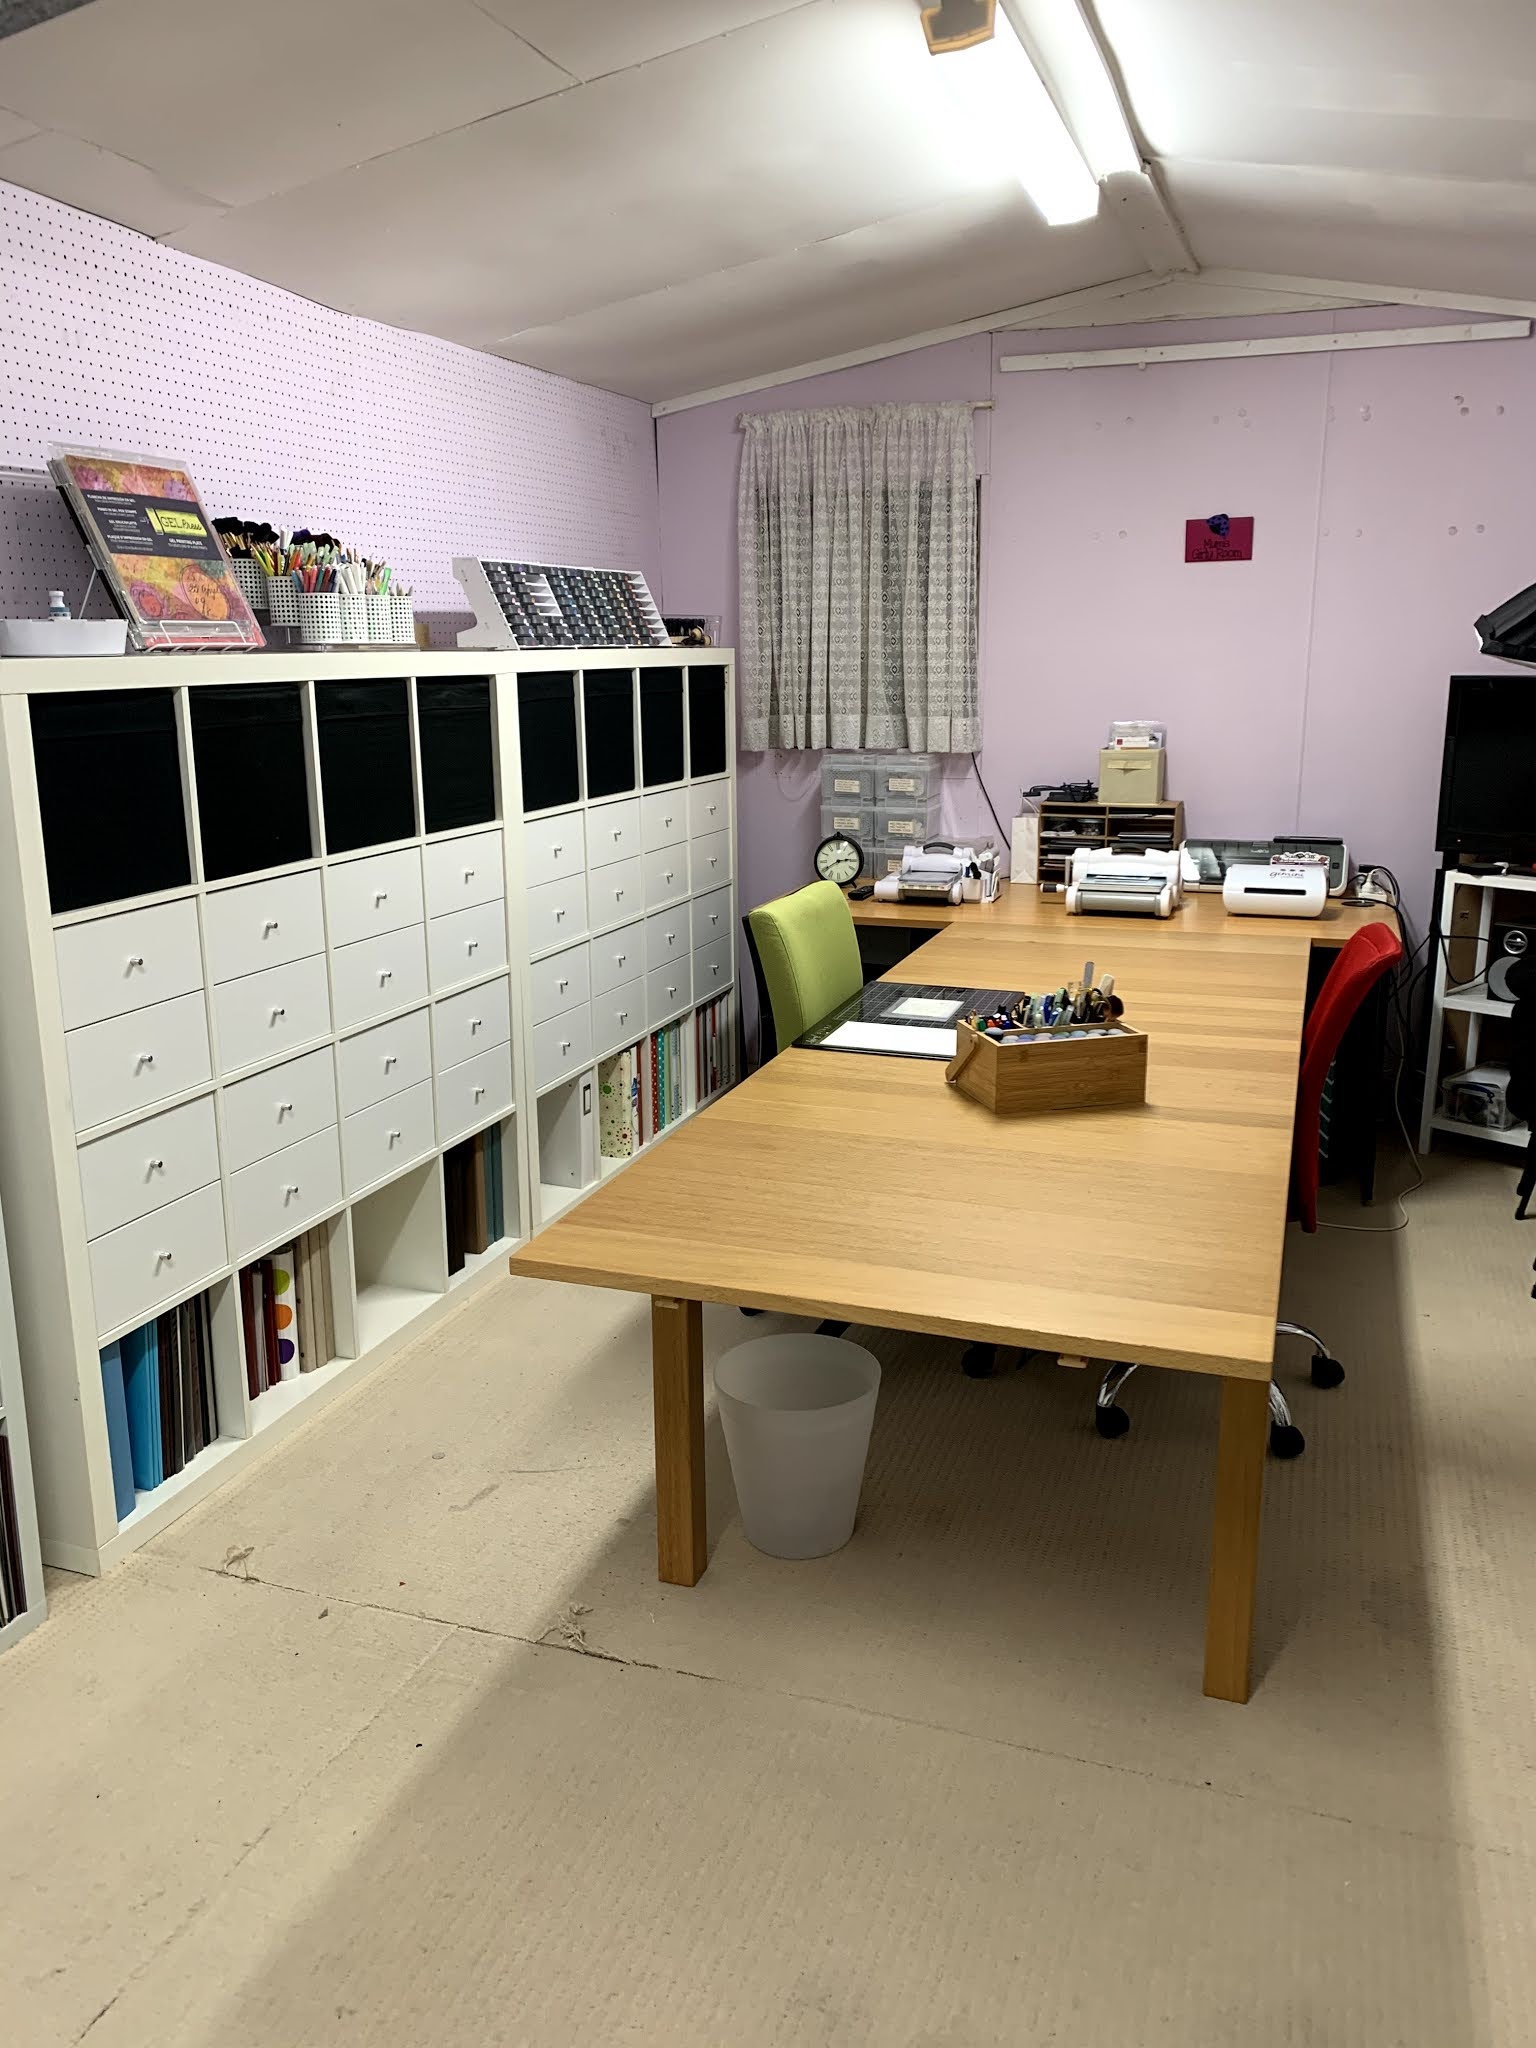




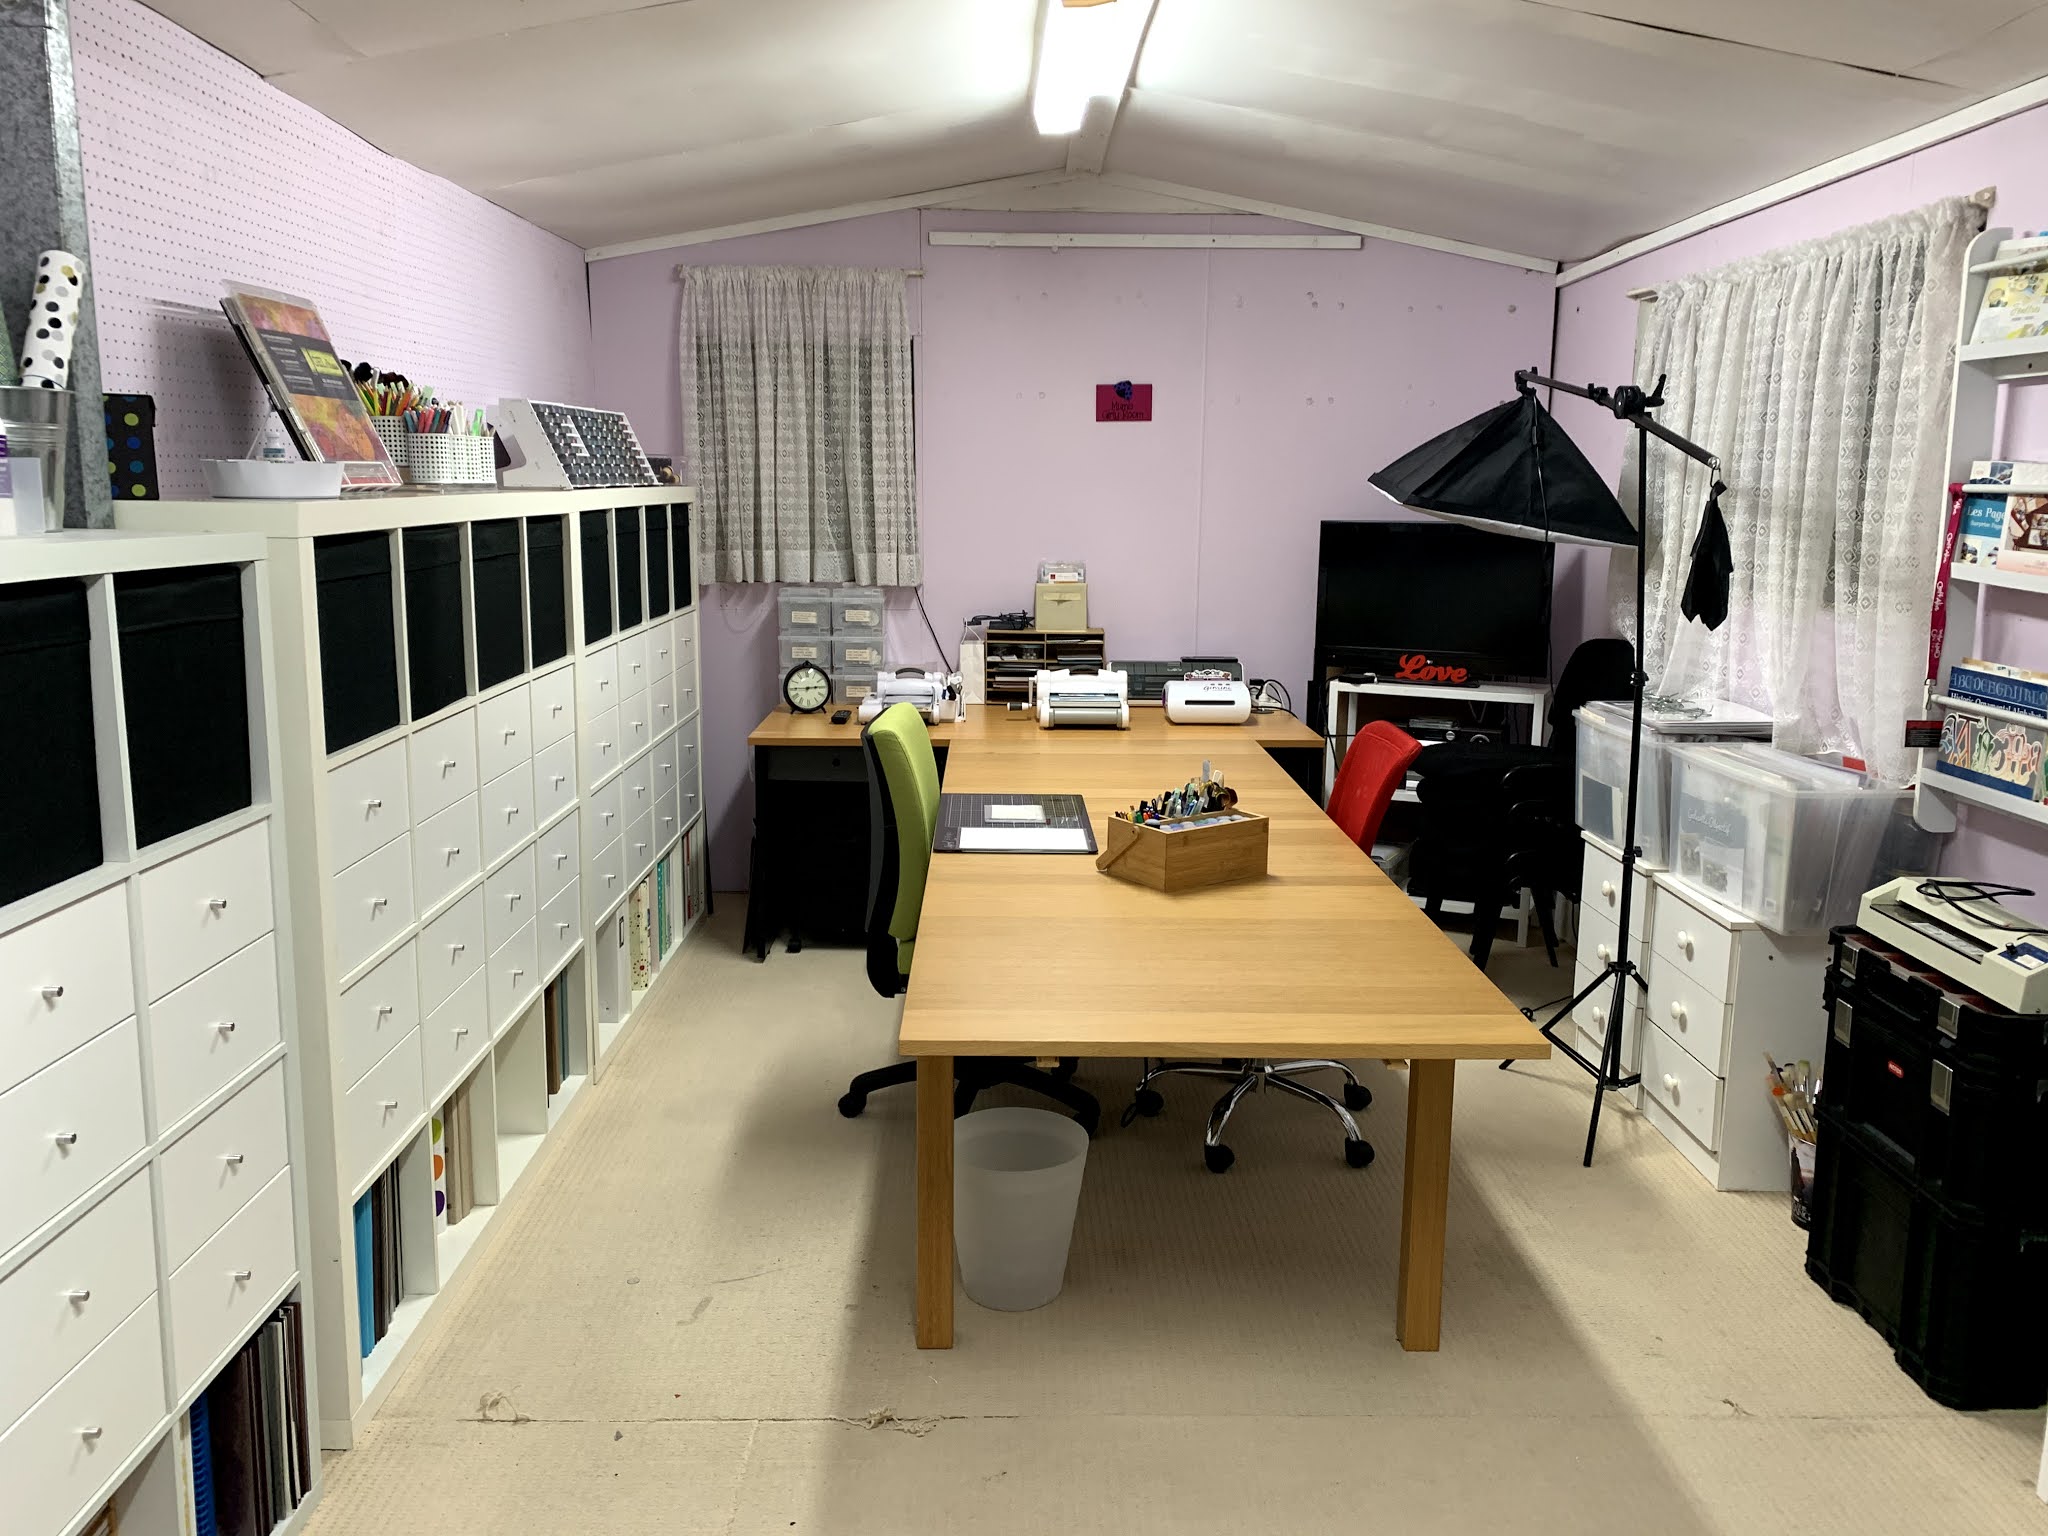

Well after we pulled them apart and cleaned them up, it was time for a trip to Ikea for the drawers - 48 of them in total (24 sets).
It took us awhile to put them together, but once you did one, the rest were easy.
So here is my new Craft Studio:
There are so many ways you can store your dies that I cant cover everything here ... although I will try and update this post if new ideas come along.
First though, I am going to show you how I store my dies.
I use photo boxes that sit in a larger box:

Any larger dies that dont fit in these containers are stored in a larger box that sits next to these.
My Nesting Dies that I use regularly are on display, hung on a peg board. This makes it very easy for me to get to.


My very favourite brushes for inking and stencilling are the contour make up brush. There are two types I use: These ones are the norm...


