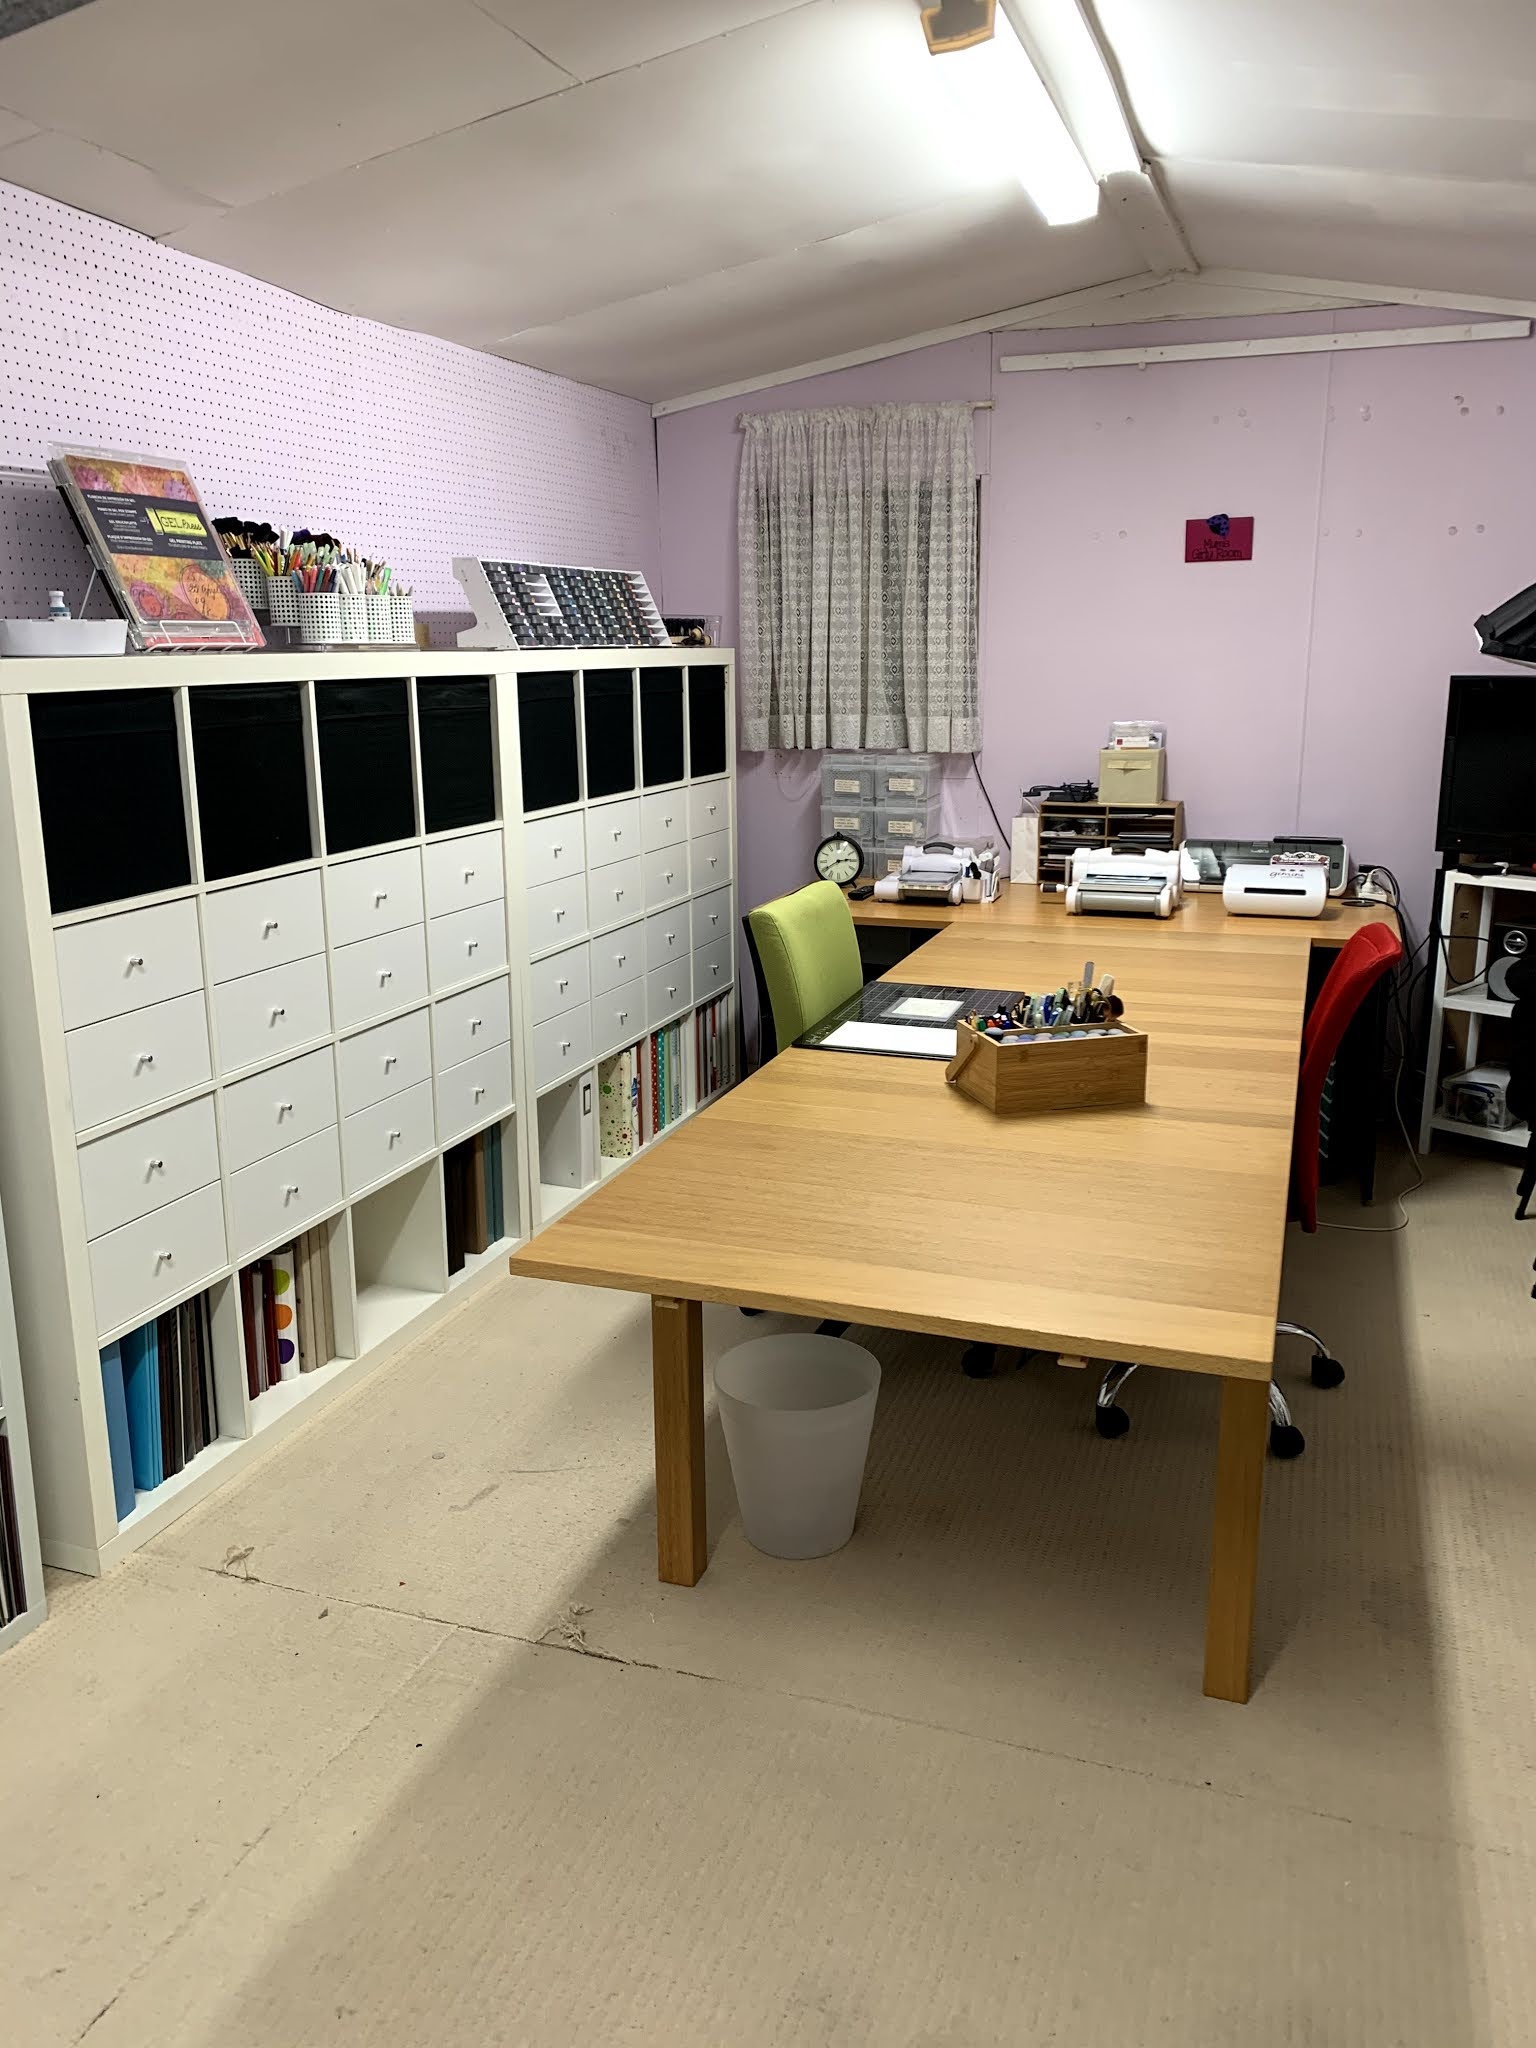
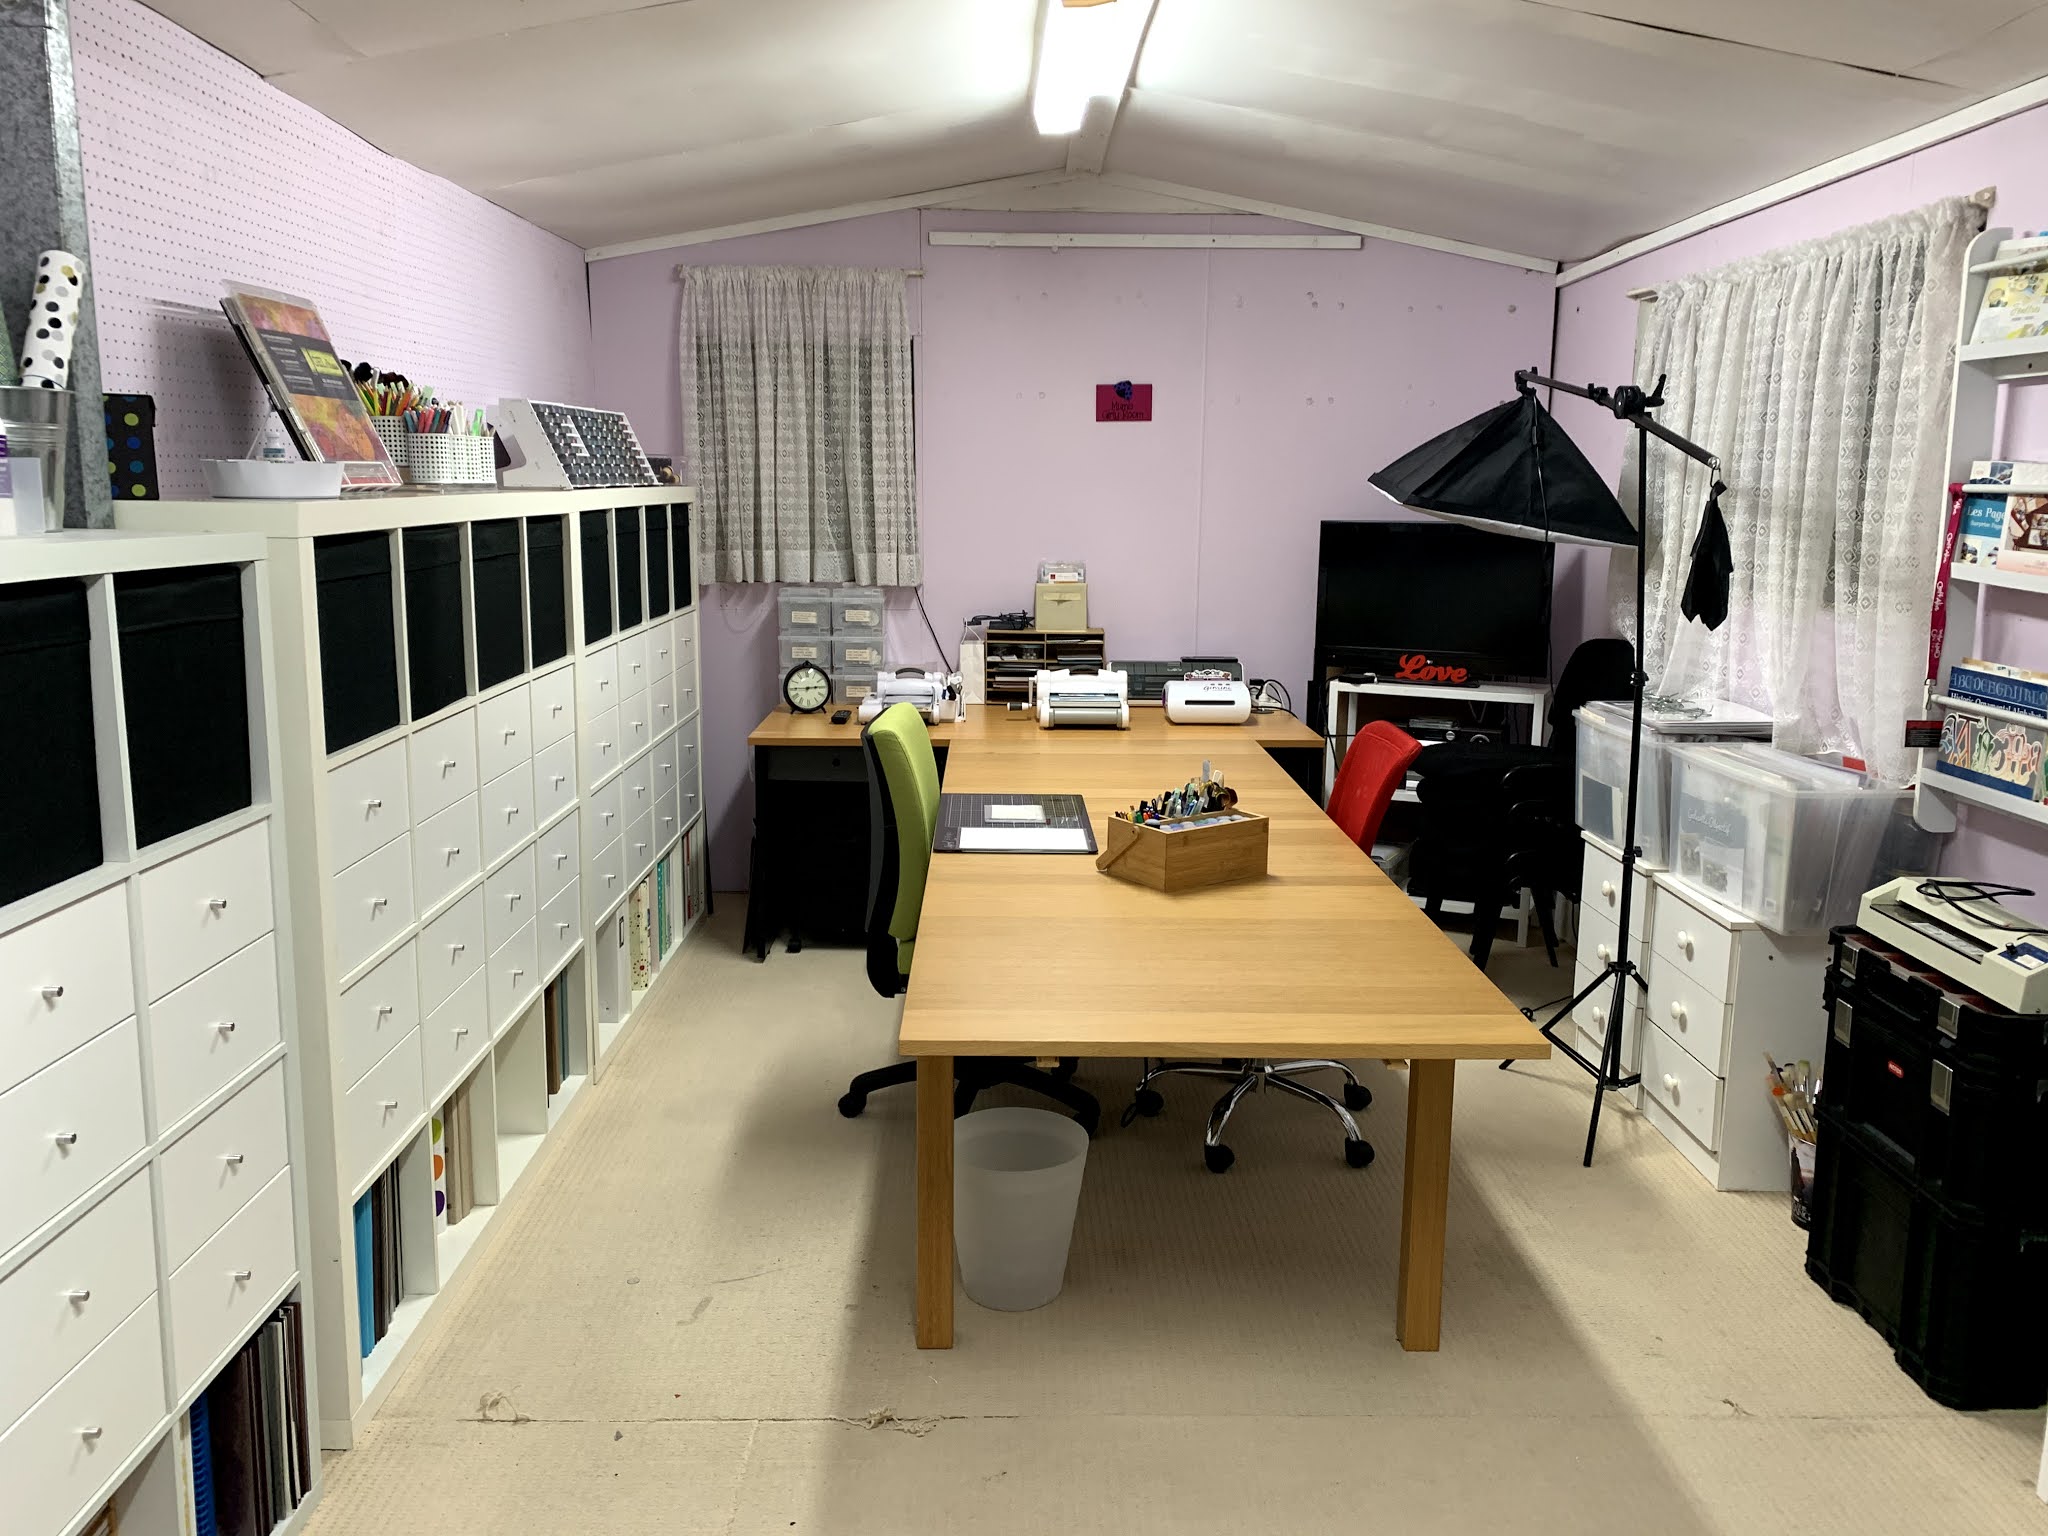
Here is the first cube Wayne (hubby) and I have pulled apart, cleaned, repaired and put back together.
The second one is going to take more work as there is water damage that neither Wayne or I noticed (bugger!)
Anyway, here is what it looked like before:
It was quite dirty and had a lot of stains but with a little elbow grease, it came up quite well. The cube shelves are held together with dowel pieces and then there are screws on the outside.
First step is to remove all the plastic covers, screws and dowel pieces. All the frame and shelves and dividers should be all separate now.
I had an old table set up with a clean rag - when I cleaned one side, I turned it over onto the sheet so that it would stay clean.
The first clean was just using some household cleaner and a dishcloth to remove the dust and dirt.
The second clean was using the 'Magic Eraser' - and it is magic! I use these even on my stencils to clean them, they are great for getting inground marks off with ease. If you can see the photos above, the one on the left has been cleaned with the eraser and the one on the right, cleaned only using the household cleaner. This eraser takes off pen, paint .... all sorts of stains!
The above 2 photos are of the same panel - the second photo was reduced and cropped as there was a lot of background and plus I took the photo a bit crooked .... well, maybe not just a bit - it was very crooked. But I promise, these two panels are the same and look how clean it came up. Again, the Magic Eraser!!
Also, see how we didn't take our own advice ..... we missed taking out the dowels from photo No.1, but I did take them out before cleaning it.
So clean all your panels and dividers the same and then you will be ready to put it back together.
Place your top and bottom down and then one side - as above. Put all the dowel pieces back in and for the dividers (middle panels above) ensure the dowel goes 1/2 way through as this one piece will hold the 2 pieces on either side.
The next step is to start in the middle and put the dividers in (you might think they are the shelves but in fact, the smaller pieces are the dividers and the long pieces are the actual shelves).
Here is Hubby clicking them into place - use your hand to 'slap' the pieces into the dowel. If you cant, make sure you only use a rubber mallet gently to push the dowel into the pieces.
A couple of dowels were broken so we just used some wooden ones we had - as long as they are the same size, it doesn't matter if they are plastic or wood.
Hubby thought he deserved a beer at this stage .... who am I to say he didn't???
Now all the dowels are pushed in and the unit is stable - don't lift it up yet, you still need to put the screws in.
Nice and square!
Now go and put the screws back in - if using a drill like Wayne has, dont screw them in tight as it could damage the screw.
Use an Allen Key to tighten up the screws.
The last thing to do is to put the plastic covers back over the screw holes.
A reminder of what it looked like before: