Sunday, November 29, 2020

CONTOUR MAKE UP BRUSHES

My very favourite brushes for inking and stencilling are the contour make up brush. 

There are two types I use:


These ones are the normal contour brushes - when choosing them, you need to look for a very dense head, this will make all the difference in your blending. If the fibres are too loose, you will not get a great result. The more fibres pact into the head and the firmer the head, the better.


These ones are the new style, sometimes called 'Lifestyle' brushes. 
They are awesome! Makes the job easy, quick with brilliant results!


I use a lot of different types of brushes depending on what my project needs are - the above brushes gives a smooth effect where other brushes I use can give stroke lines or texture to my piece.

I did not purchase any of these brushes from craft stores - all have been bought either online (aliexpress) or in retail shops such as Kmart, TKMax, Target etc - shop around, you will be amazed at the saving you can get.

Some examples of using these brushes:


Tuesday, October 13, 2020

CUBE NO.1 - UPDATE

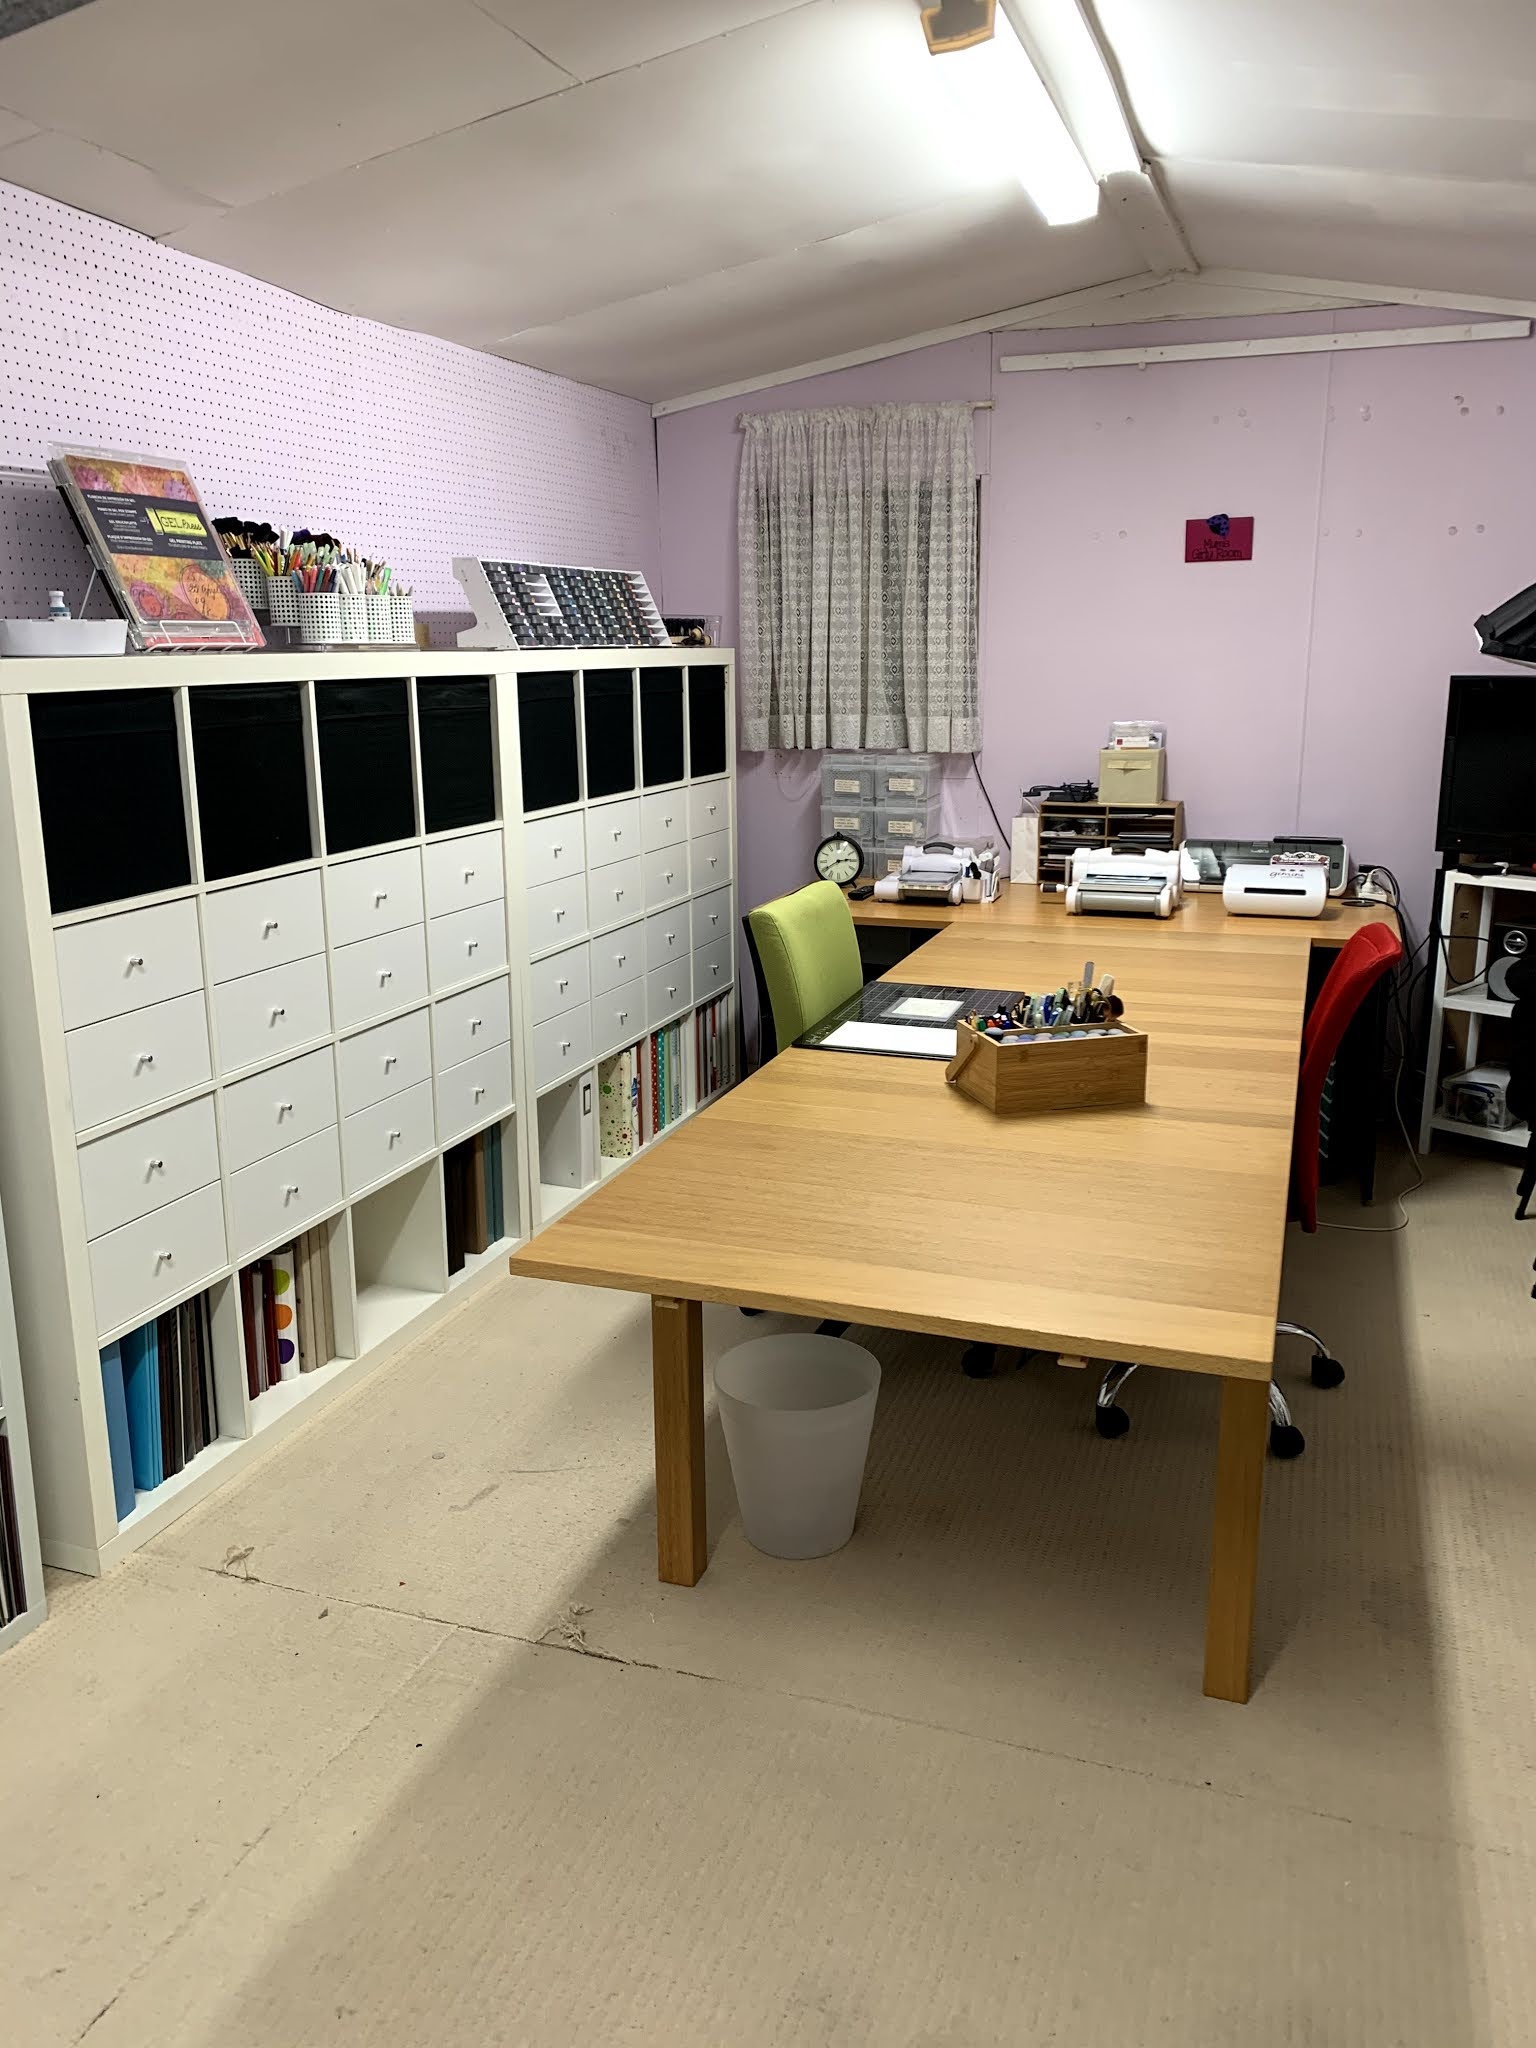
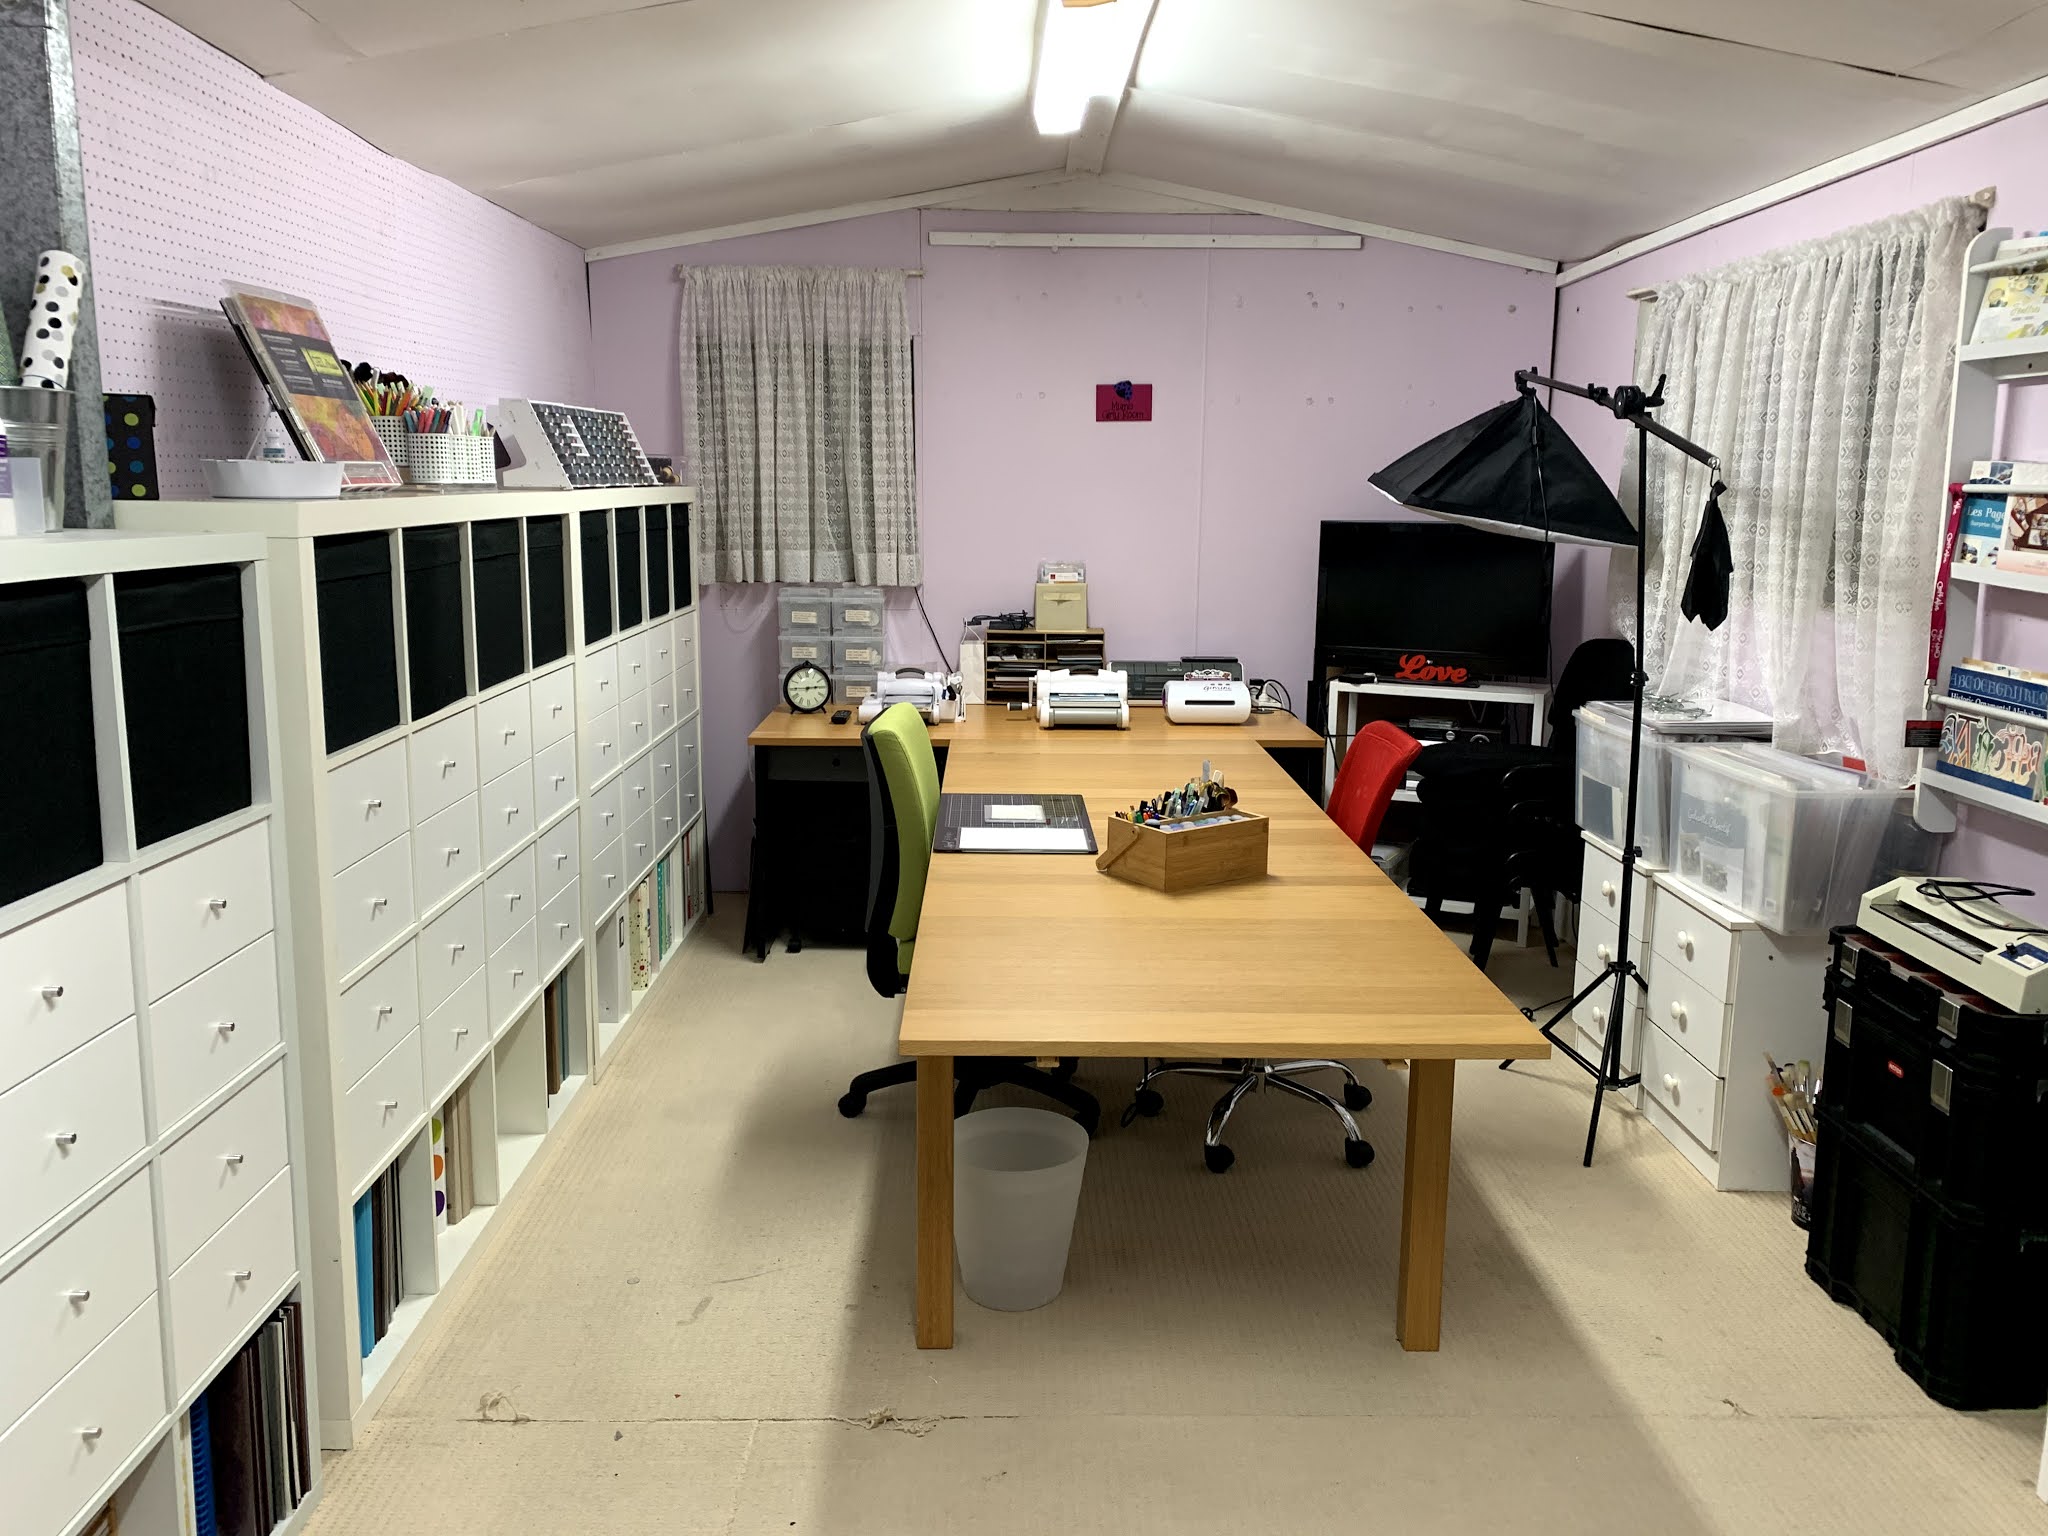
 Well after we pulled them apart and cleaned them up, it was time for a trip to Ikea for the drawers - 48 of them in total (24 sets).

It took us awhile to put them together, but once you did one, the rest were easy.

So here is my new Craft Studio:


Wednesday, October 7, 2020

CLASS WORKBOOK - STENCILLING, PART 1

 Stencilling is a fun and inexpensive way to create, they can range from $10.00 upwards but the best thing about them is there is a multitude of techniques that can be used with a stencil and you can use this stencil, over and over again.

Just a little insight into the versatility of a stencil:

  1. Inking
  2. Chalking
  3. Sand
  4. Velour
  5. Texture pastes
  6. Wet Embossing
  7. Dry Embossing
  8. Sprays
  9. Pens
  10. Die Cuts


This video gives you an insight to my Class Workbooks - these are usually used in my classes and retreats, but can be purchased and used by you, at your pace.

There is pages within the book to adhere your samples and you can use this book as a resource ..... forgot a technique? Just look it up in your book.

If you dont have the same products (eg. the different types of inks I use), just use what you have.

Each Class Workbook is $20.00 plus postage and includes any help I can give you.

Please email me if you would like further information or if you would like to purchase one of my books or alternatively, you can go on my website to place your order.

I hope you enjoy the peek into stencilling.


COLOUR CODING YOUR INKS


Colour coding your inks and tools will make your life easier and quicker. Having said that, this really depends on your budget.

As I do classes, this is an essential part of my business ensuring clients can have easy access to the ink and matching tools.

What you will need:

  • Small dots
  • Inks
  • Blender tools
  • Daubers

1. Cut off 3 dots from package

2. Using your dauber, colour the three dots

3. Write the same reference number on the three dots Eg. B1

4. Attach one dot to your ink pad, one dot to your blending tool and the last to the lid of your dauber container.


Now when you go to use your ink, you can pick up the matching tool.

This will save you time and money as you won't be looking for the matching blender foam or dauber and you won't have doubles either. The added advantage for the blender tool is, that you won't stretch or damage the foam pulling it off and putting it on all the time.

Tuesday, September 1, 2020

INKING CLASS WORKBOOK - PART 1


This video gives you an insight to my Class Workbooks - these are usually used in my classes and retreats, but can be purchased and used by you, at your pace.

There is pages within the book to adhere your samples and you can use this book as a resource ..... forgot a technique? Just look it up in your book.

If you dont have the same products (eg. the different types of inks I use), just use what you have.

I have created charts in this workbook for guidance on what type of ink will work with different tools, with different liquids and different card stock/papers.

Each Class Workbook is $20.00 plus postage and includes any help I can give you.

Please email me if you would like further information or if you would like to purchase one of my books or alternatively, you can go on my website to place your order.

I hope you enjoy the peek into Inking.

ALTENEW - surprise, surprise!!!

Do you love stamping? Do you love die cutting? Do you love stencilling? If you love one or all three of these, this video shows the latest innovation of Altenew - such a surprise in store for you! Arts and Crafts Supplies are an Australian based company who I have been purchasing from for around


12 months. They are awesome ladies, orders are sent very quickly and there prices are extremely competitive. In addition to all these positives, they donate 10% of their profits to Cancer Research - hats off to you Galy! You also gets some freebies PLUS chocolate! If you haven't seen them yet, please visit their website www.artsandcraftsupply.shop I teach techniques - not the craft ..... so I can teach you how to ink, chalk, stamp, die cut, stencil and how to enhance all of the above and then what you learn, you can apply to your own paper craft interest such as scrapbooking, journalling, card making etc. Please note: I do not get paid for promoting any company - I choose the companies I purchase from and love to help by advertising them. No commissions, no payments etc. Website: papercraftcentral.com.au Email: papercraftcentral@icloud.com


Monday, August 24, 2020

YOUR MAN WILL LOVE TO DO HOUSEWORK NOW!


EXPLODING CHOCOLATE BOX

 Part of my Hubby's 60th Birthday present, I made an exploding chocolate box - this is the first time I had made one, although I have made smaller card greeting ones but this one was on a bigger scale.

I will admit though, I cheated .... I bought the boxes instead of making them. To hold the chocolate, I needed really strong boxes.

I did learn something though - no use decorating the sides or bottom of the boxes as you cant see it once the chocolate goes in! So next time, I will just use the cardstock without the decoration.

I used Washi Tape all around the edges where I cut the boxes open.


It does look like the boxes are not centred, but it is just the angle of the photo.

The small little box in the centre holds Skittle lollies.

Monday, August 10, 2020

DIE STORAGE

 There are so many ways you can store your dies that I cant cover everything here ... although I will try and update this post if new ideas come along.

First though, I am going to show you how I store my dies.

I use photo boxes that sit in a larger box:

They are all labelled and I have about 7 of these. I bought these when they were on special and they have worked extremely well. Some are more full than others but even with the Hexagons (above photo) only being the one set, it is easy to grab and more importantly, easy for me to put away.

Any larger dies that dont fit in these containers are stored in a larger box that sits next to these.

My Nesting Dies that I use regularly are on display, hung on a peg board. This makes it very easy for me to get to.

The following photos are different ideas that might suit you:


The above would be my second choice - they are kept flat and easy to access. They have tabs so that you can label each one, saving time when looking for a particular die. The black sheets are magnetic.


All of the above photos are using magnetic sheets which you can buy in black or white. These photos are not mine but wanted you to see alternative die storage.

CUBE NO.2

 This is what happens when you dont look at something close enough - we knew there was a little water damage to the second cube, but once we pulled it apart, there was a LOT of water damage.

There was too much so luckily, I was able to buy another one (actually, I bought another 2!) and they were much better, only needing cleaning.

The following photos are of the damage:


I will say that Hubby has some plans for the shelves and dividers that are not damaged, so at least we will get some use out of them. 

I will have three of these 4x4 cubes in my Studio, which will be fantastic! Just have to wait a while before we can gut it and re-line with gyprock. It will certainly look better when this is done!

Sunday, August 2, 2020

TEXTURE PASTE & PATTERNED PAPER


When you use your die cutting machine with patterned paper, you may want to do something to the design to enhance it .... one way is to use texture paste.

The following photos show how I have cut out a butterfly out of patterned paper and then using a stencil, placed texture paste over the top.

This gives a bit of an oomph to your die cut - you can use pens to highlight, diamontes or pearls to decorate, even just backing your die cut with plain card to give it depth will give it dimension.


CONTOUR MAKE UP BRUSHES

My very favourite brushes for inking and stencilling are the contour make up brush.  There are two types I use:      These ones are the norm...